Terrain: Moons
Nothing helps spruce up a wargame than having nice terrain on the tabletop. This is especially true of space combat games where there often isn't any terrain at all. This is the first in a series of articles demonstrating techniques I use for creating space terrain.This article covers barren, crater pock-marked moons or planetoids.
Estimated time required: 1 hour
Equipment ---
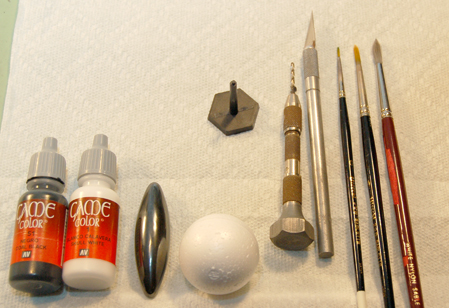
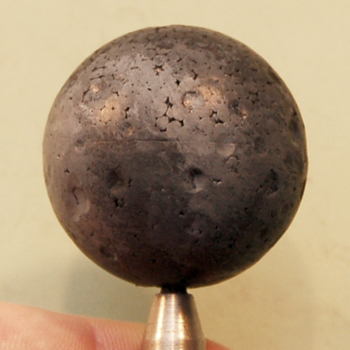
Polystyrene Ball - There are two types of balls that can be found in craft stores. Styrofoam is the most common and has a very rough texture. While I've seen them used for planets and moons, they are very difficult to paint and the results are almost always disappointing to me.
Instead, I prefer polystyrene balls which are much more dense and have a smooth surface. This makes them easy to paint and well suited for becoming moons and planets. They are difficult to find in sizes larger than 4" in diameter but they do come in several sizes smaller.
Flying Base - For mounting the finished moon onto.
One "Rattlesnake Egg" - While any sort of smooth rounded tool can be used, these magnetic noisemakers have a perfect shape for creating smooth indentations in a variety of sizes, as will be seen later in this article.
Black and White Paint - Any kind will do, in this article I'll be using Vallejo Game Color because it was handy. A variety of shades will be needed and I find it easier to mix them on my paint palette (I use old blister pack packaging) than to deal with a plethora of grey paints.
Paint Brushes - I recommend at least three; a small detail brush, and two larger brushes, one that can provide smooth coverage, and one that is old and not cared about for doing stippling.
X-acto Knife - Trimming expanded polystyrene can be disastrous without a very sharp blade so before you start, put in a new one.
Pin Vice - This will be used as a holding tool so make sure it is fitted with a drill bit that can withstand some pressure (1/16" or 1/8" is recommended).
Step 1 --- Cleaning the mould lines
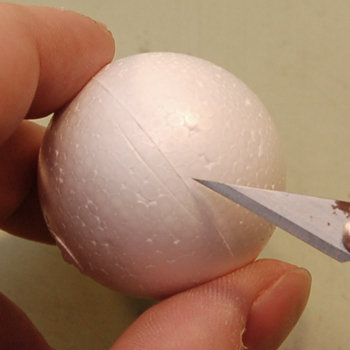
The mould lines on some balls are more prominent than others. I selected one that was not very prominent.
I just carefully run the knife around the circumference to remove it. I also clean the poles where there is usually a lumpy or textured spot. A fine grit sandpaper could be used instead for possibly better results, but in this case I'm not overly concerned with a little flatness since this is going to be a pock-marked moon.
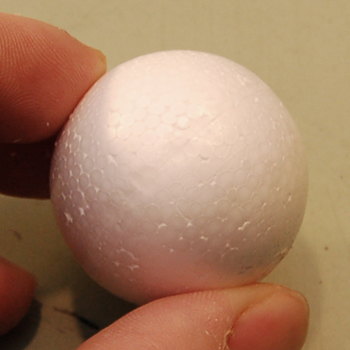
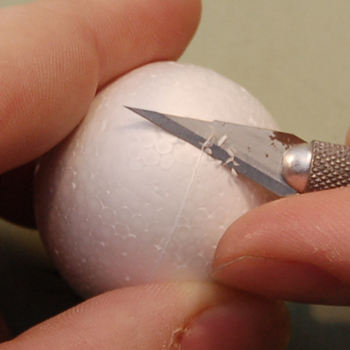
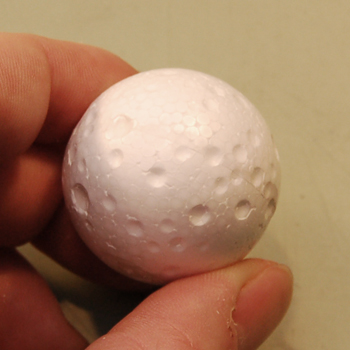
Step 2 --- Making Craters
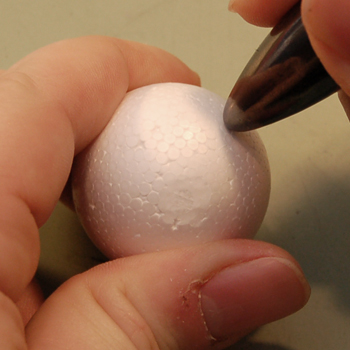
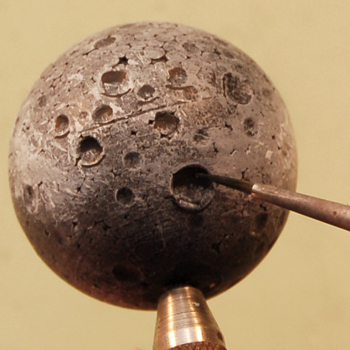
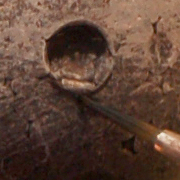
Gently press the end of the rattlesnake egg into the ball to make a crater. For small craters only use a little bit of pressure. For large craters press in slightly more firmly and then work it around using a circular motion, as if it were a joystick, keeping the tip of the rattlesnake egg in the center of the crater.
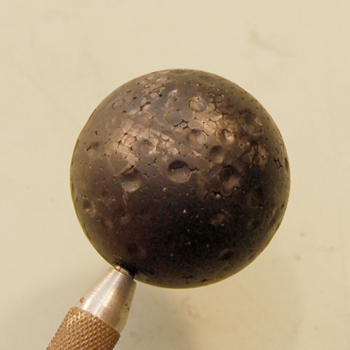
Step 3 --- Paint it black
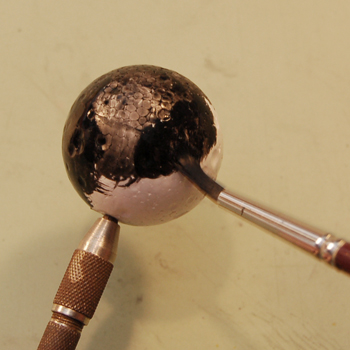
After the craters have all been made, paint the whole ball black. This is when I insert the pin vice. Do not drill a hole, simply twist it in like a corkscrew into a wine bottle. The drill bit should hold the ball securely enough that it won't spin while painting.
It isn't important that the black paint be completely opaque, these will disappear over the course of doing the rest of the painting.
Step 4 --- Define the light/dark areas
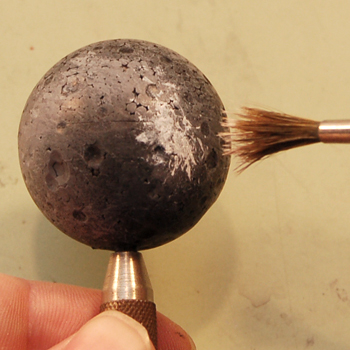
Once the black-painted ball is dry, mix together a dark grey and begin stippling the surface with an old brush (because you'll be mashing the bristles). I work my way around the ball in sort of a sinuous line, letting it get thin in places, letting it bulge out in others. Think yin-yang, light and dark areas in fairly equal proportion. As the paint on the brush runs out, I stipple further away from the densely painted area in order to blend the edges with the areas that are still black.
Step 5 --- Going lighter and lighter
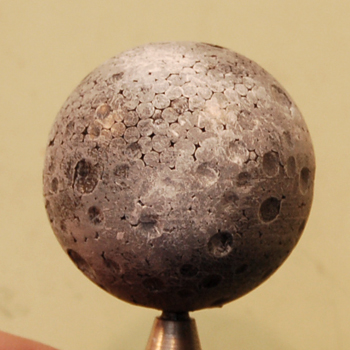
Mix together a lighter shade of grey and repeat, then do it again with a lighter shade (or even white). Stipple heavily and work the paint outward from the initial hit but don't be overly concerned with smoothing out the paint job, randomness is desirable.
Like above, as the paint runs out on the brush, work farther and farther away from the light areas. This will gradually encroach on the dark areas but this is supposed to happen, by the end there really shouldn't be any remaining black. The darkest areas should end up being a medium to dark grey when its finished, and the lightest areas a very light grey.
Step 6 --- Adding shadows to the craters
Adding shadows (and later highlights) to the craters will make them more dimensional and stand out better. Since this is going to be a workhorse terrain piece intended for games on a typical tabletop, I'm going to put the imaginary light source directly above. A different lighting direction could be chosen, it doesn't really matter, but I think it tends to look better if it emulates the environment it will be used in.
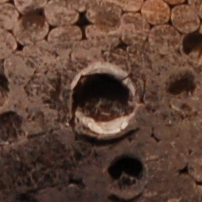
For each crater there are two shadows to be painted. The first is on the inside of the crater, which is easy to paint because they are indented into the surface. Simply paint the half of the crater closest to the light source black. If you want to be fancy, you could make this an arc but at arm's length it doesn't make much of a difference.
The second shadow is a thin arc painted outside of the crater, on the side furthest from the light source. I leave a little separation, or gap, between the corners of the inside shadow painted above, to the corners of this shadow.
Step 7 --- Adding highlights to the craters
Similar to adding the shadows in step 6, highlights will give them substantial dimensionality. These highlights are opposite the shadows painted above and likewise, there are two of them.
The first is on the outside of the crater along the lip closest to the light source, and the second is on the inside of the lip on the side furthest away from the light source. These highlights should be fairly thin.
Step 8 --- Getting fancy with craters
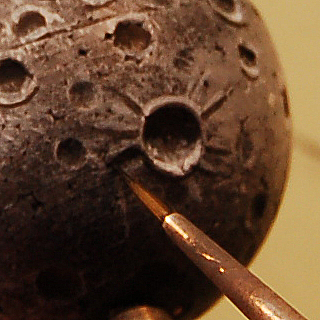
This is optional, but to really make some craters look nice, paint some radial spokes emanating outward from a few of the largest craters. I start with the highlights first and just paint some lines using white paint, keeping in mind the direction of the light. This kind of creates a bow tie pattern perpendicular to the light direction (if the light is coming straight down, then the strokes will go out to the left and right). Then, under each white line, I paint a black line.
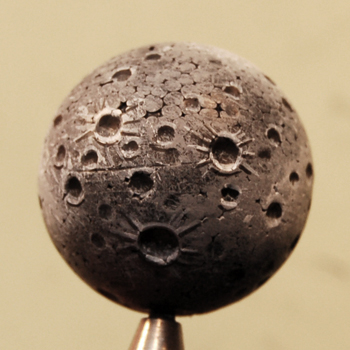
Finishing
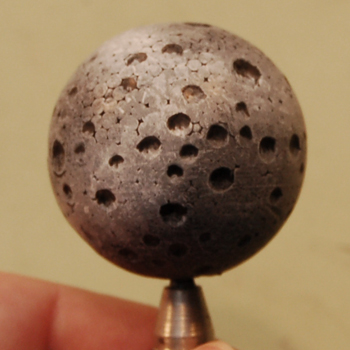
There you have it, one moon, ready for play! Take out the pin vice, widen the hole a little bit with the end of a paintbrush and stick the moon onto the flight stand.
©2008 Ninja Magic LLC